Matat Announcement Bars makes it easy to create eye-catching announcement bars and countdown timers that boost store engagement and drive conversions. With fully customizable designs, campaign scheduling, page targeting, and built-in analytics, the app gives you complete control over how your messages appear across your Shopify store.
Follow the steps below to install the app:
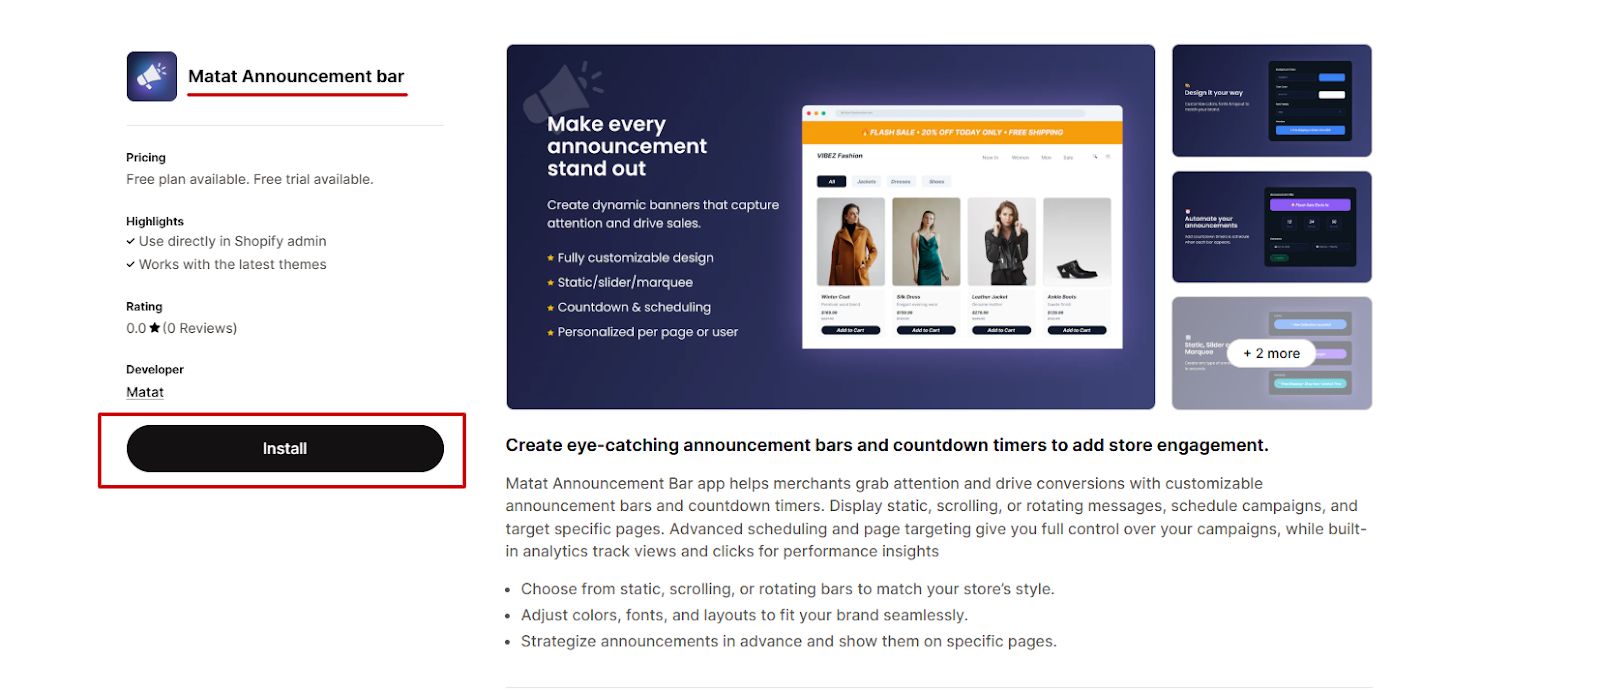
Step 1: Install the App from the Shopify App Store
- Go to apps.shopify.com.
- In the search bar, type “Matat Announcement Bars”.
- Select the app from the search results and click Install.
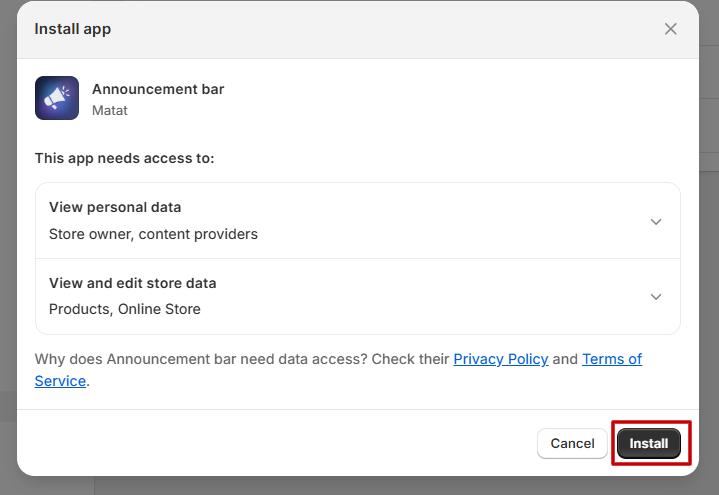
Step 2: Approve Installation in Shopify
Once you click Install, you will be redirected to your Shopify admin.
- Review the permissions requested by the app.
- Click Install to continue.
Step 3: Choose a Plan
After installation:
- Select the plan that best fits your needs: Free and Premium plans.

- If you choose a premium plan, complete the payment process to unlock all advanced features such as scheduling, page targeting, rotating messages, and analytics.
After completing these steps, the app will be ready to use, and you can start creating your announcement bars and countdown timers.
Difference Between Free and Premium Plan
|
|
|
|
|
|
|
|
|
|
|
|
|
|
|
|
|
|
|
|
|
|
|
|
|
|
|
|
|
|
|
|
|
|
|
|
|
|
|
|
|
|
|
|
|
|
|
|
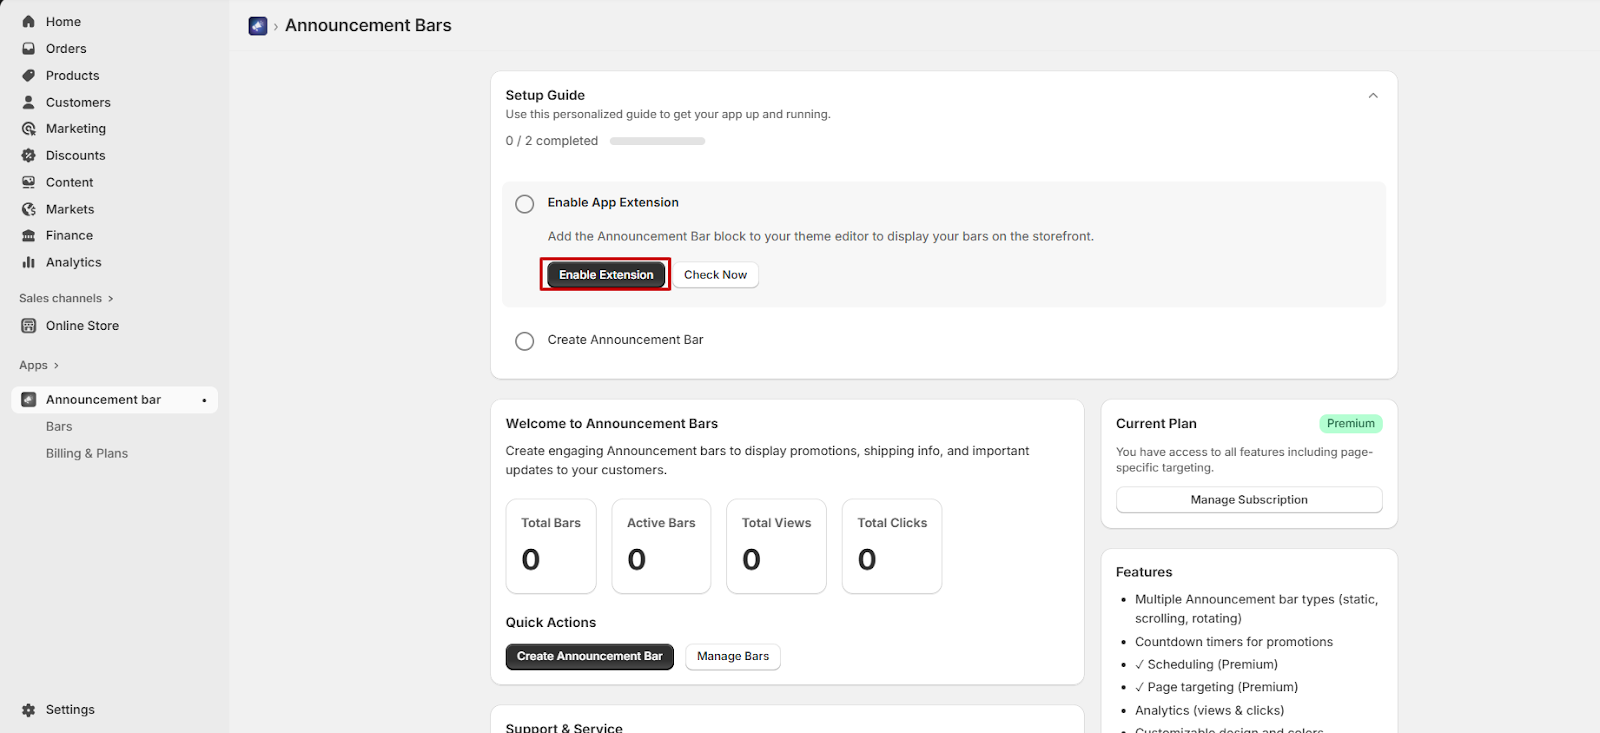
Step 4: Enable the Announcement Bar on Your Website
Once you have installed the Matat Announcement Bars app and selected your preferred plan, you need to enable the app within your Shopify theme. Follow the steps below:
- Inside the app dashboard, click Enable Extension.
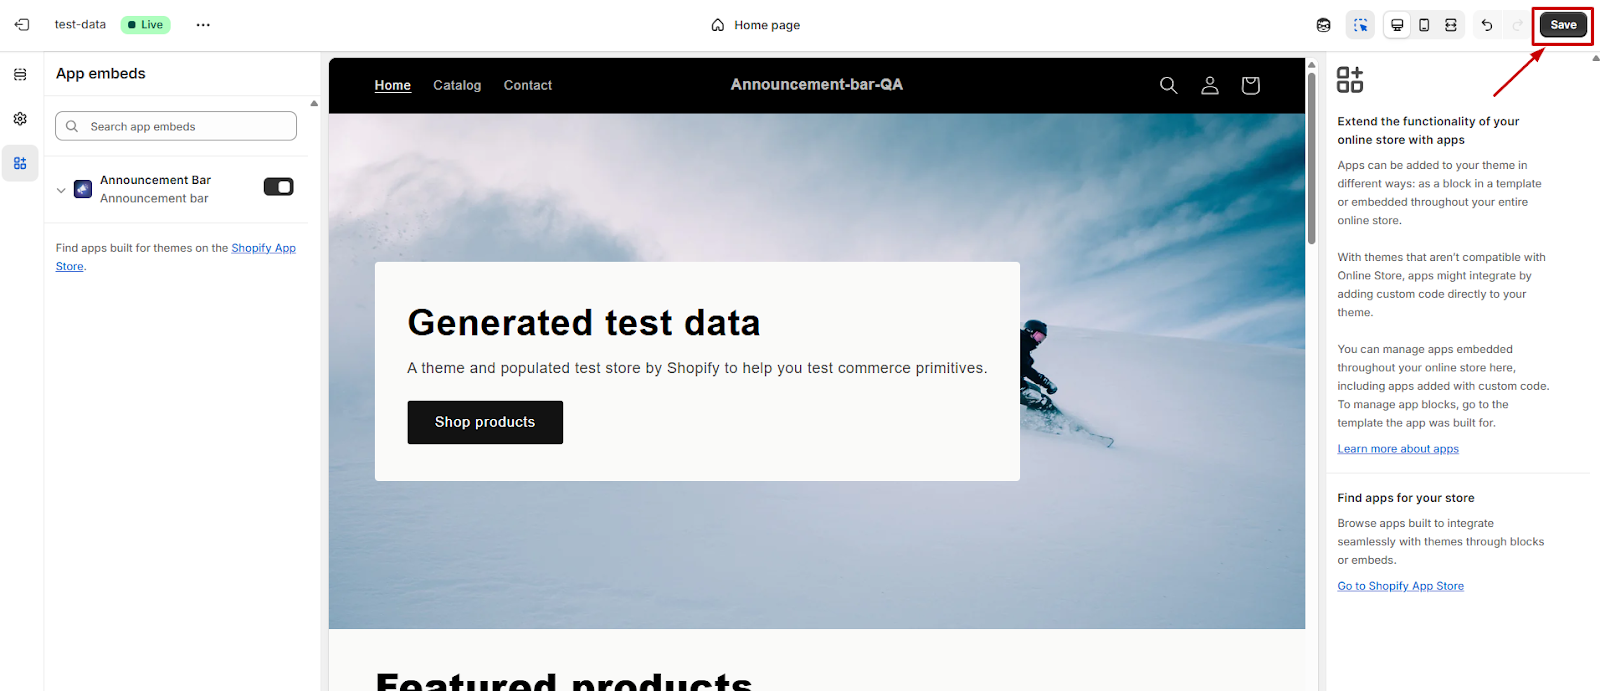
- You will be redirected to the Shopify Theme Editor.
- In the Theme Editor, find the App embeds section in the left sidebar.
- Find Matat Announcement Bar.
- Toggle the switch ON to activate it.
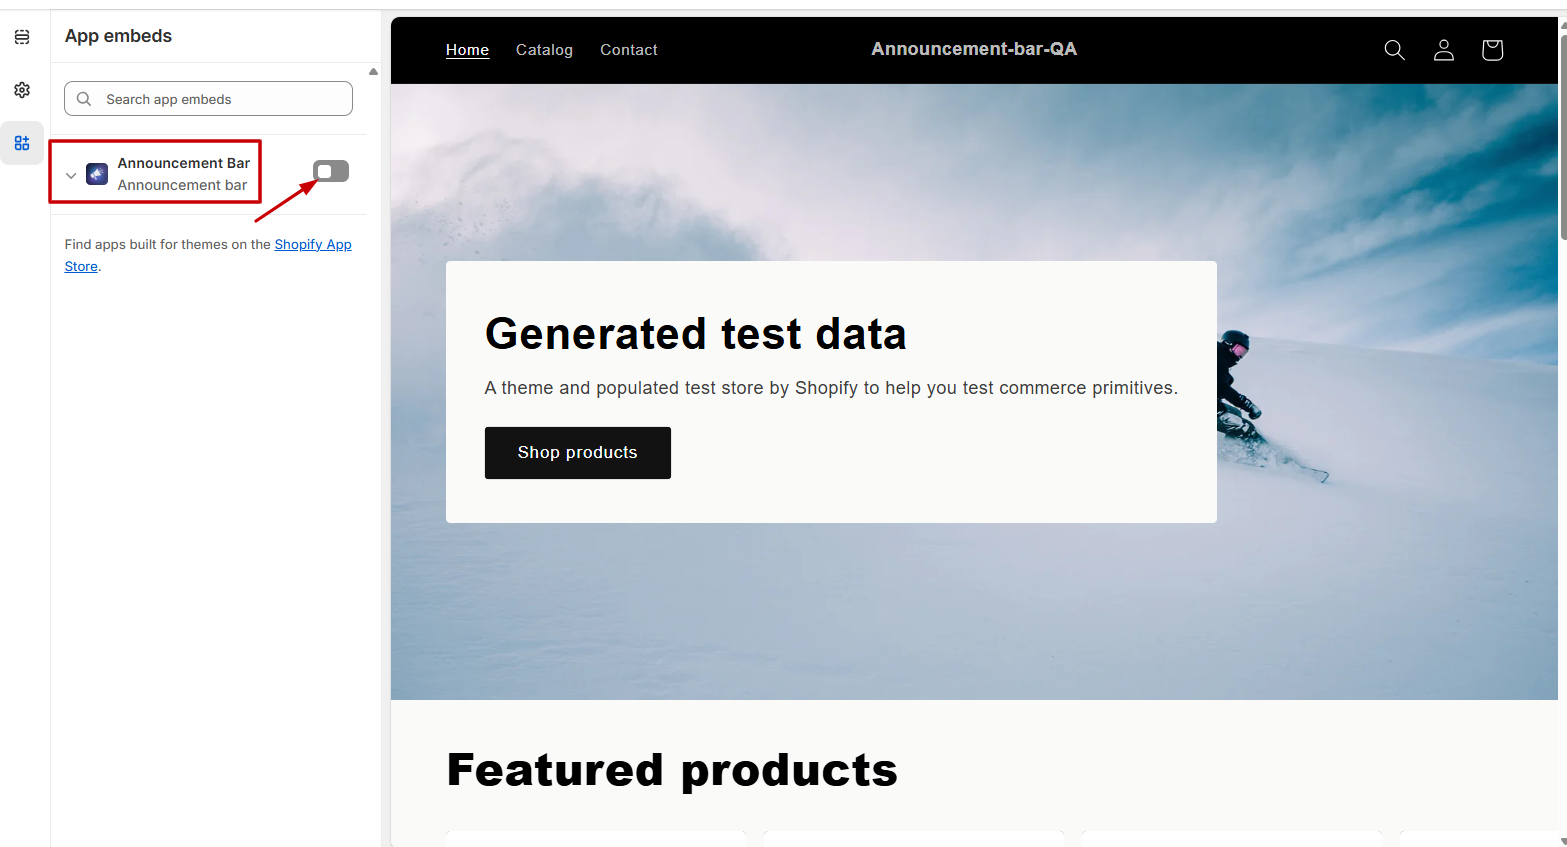
- Click Save to apply the changes.
- Go back to the Matat Announcement Bar screen in your Shopify admin.
- Click Check Now to verify whether the app embed has been successfully enabled.
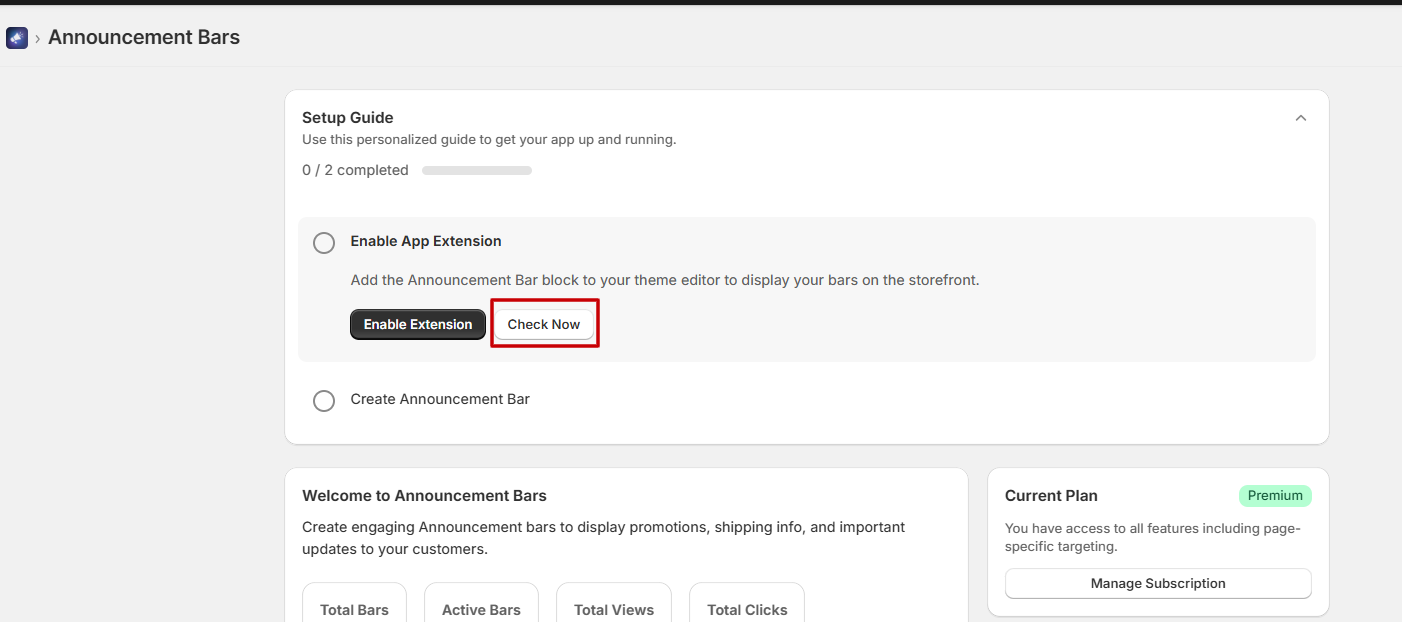
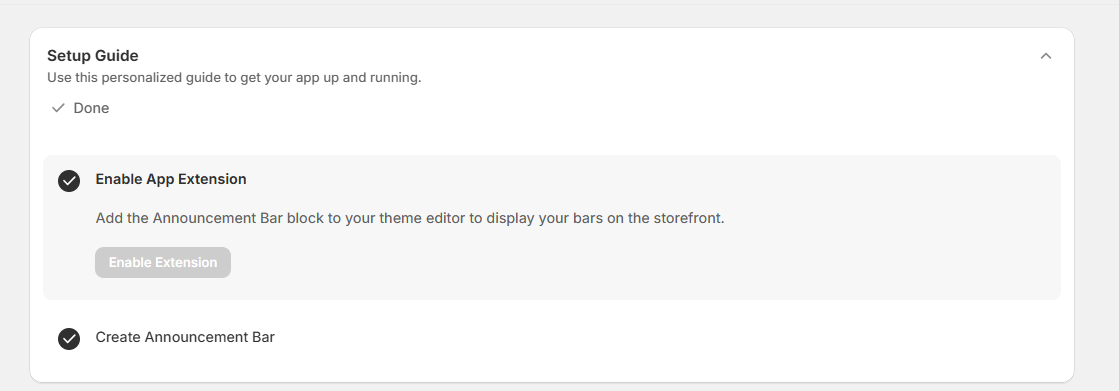
- If the app has been enabled correctly, the confirmation message will appear on the screen.
- Check the “Create Announcement Bar” box to begin creating your announcement bars.

Your app setup is now complete, and you can start building bars to display on your website.
Step 5: Create Announcement Bars
You can start creating announcement bars right after enabling the app. There are two ways to access the announcement bar creation page:
- Go to Quick Actions > Create Announcement Bars to open the announcement creation page directly.
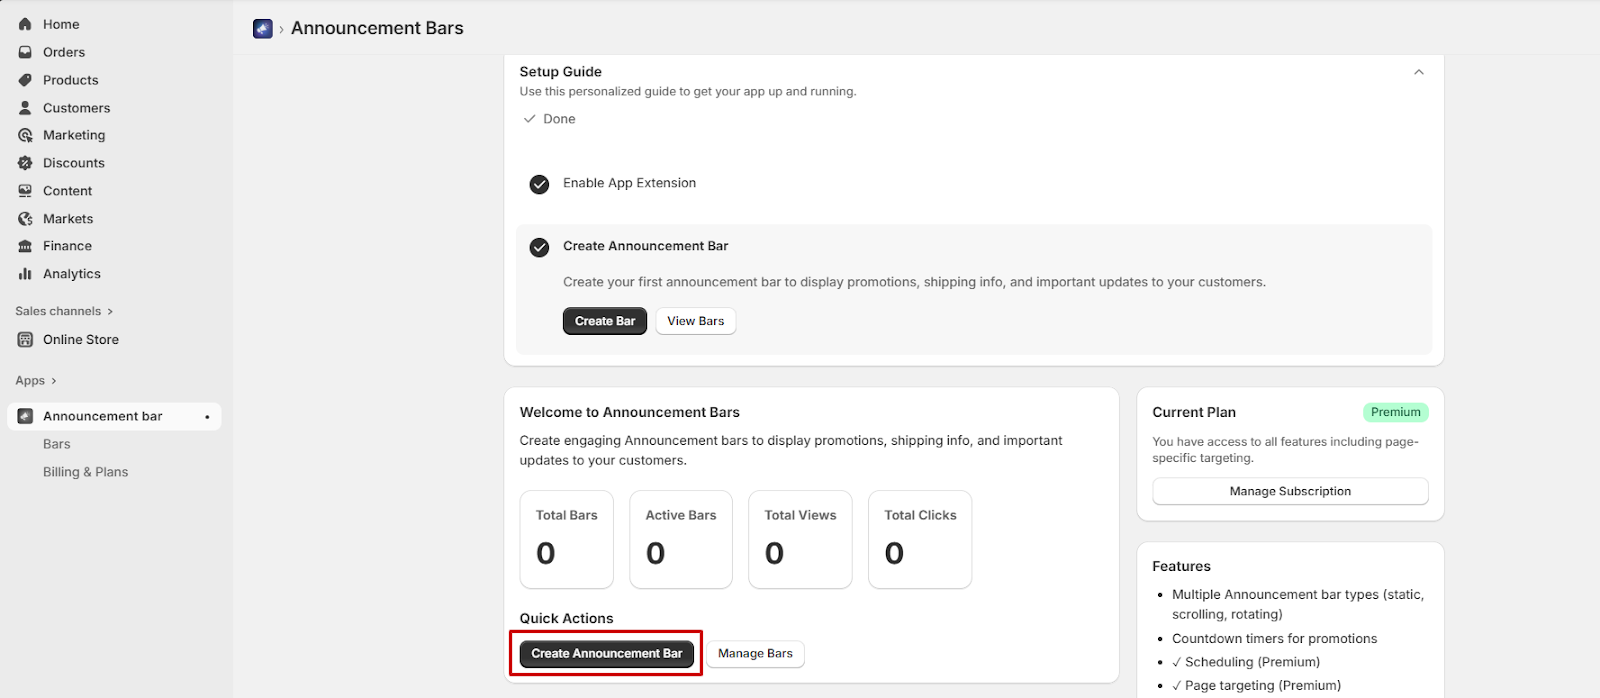
- Or, in the left-hand menu, go to Announcement Bar > Bars.
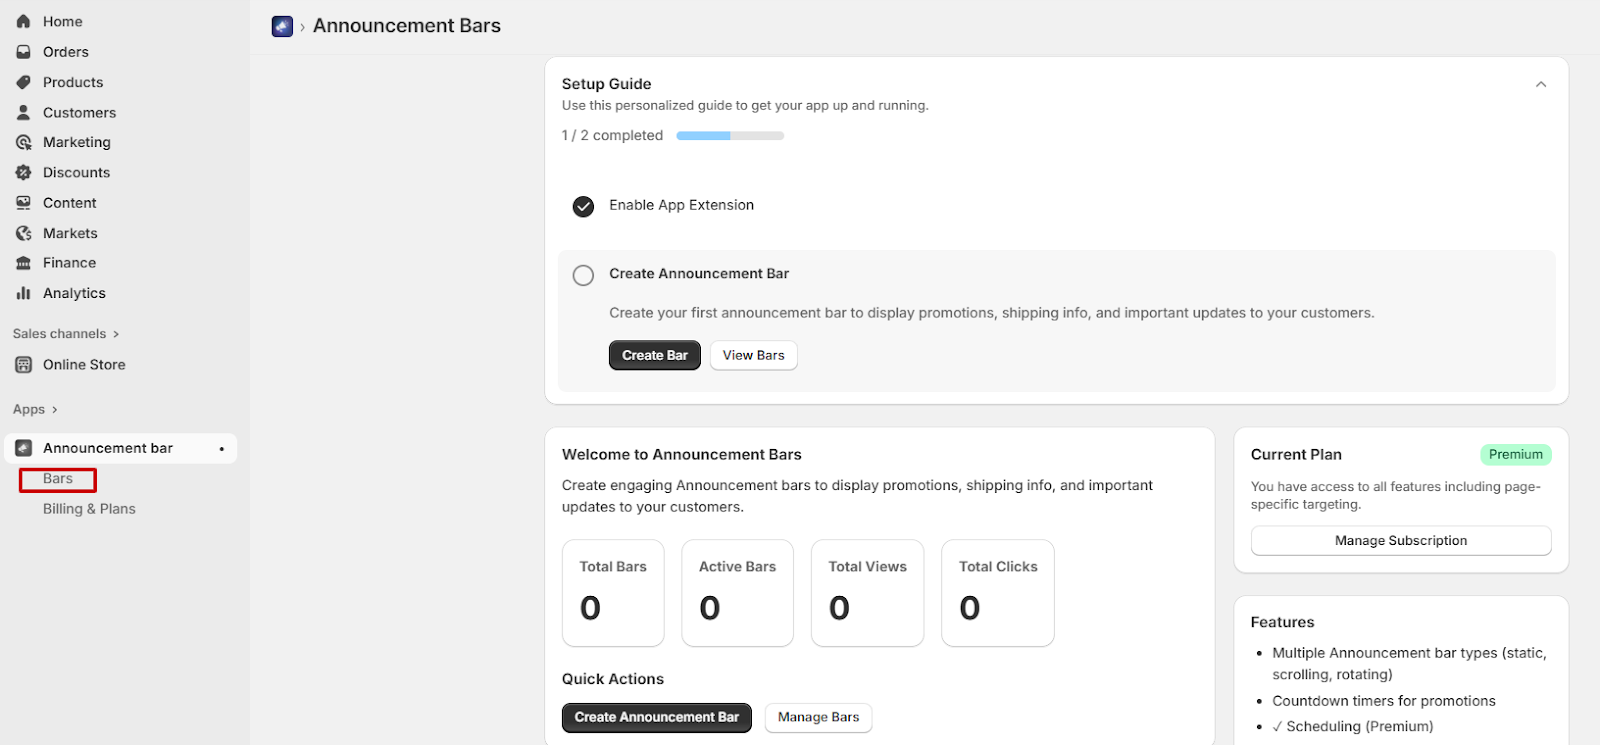
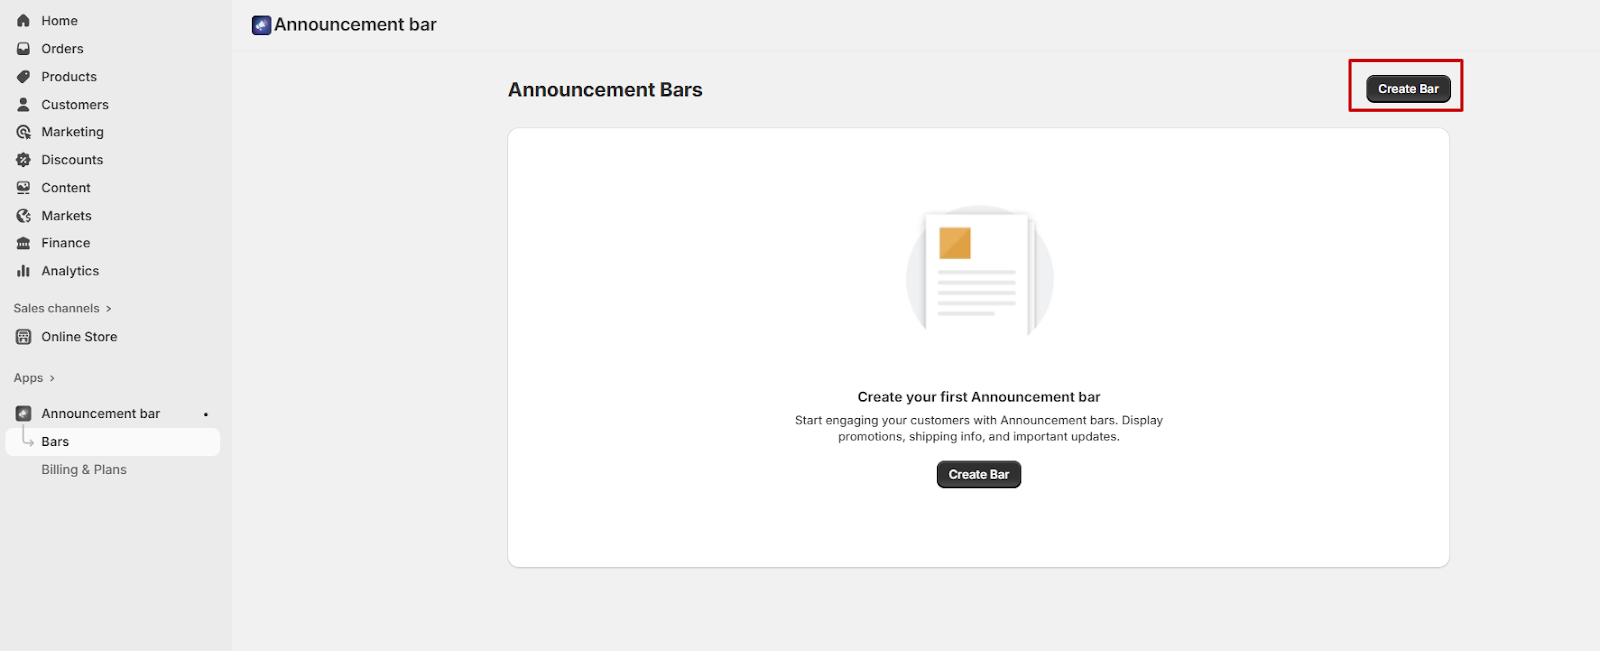
- On the Bars page, click Create Bar to begin building a new announcement bar.
- Whether you use option 1 or 2, you will be taken to the same editor page.
- This page allows you to create your announcement bar while viewing a live preview as you design it.
Step 6: Creating an Announcement Bar
Once you are on the announcement bar creation page, follow the steps below to build your bar:
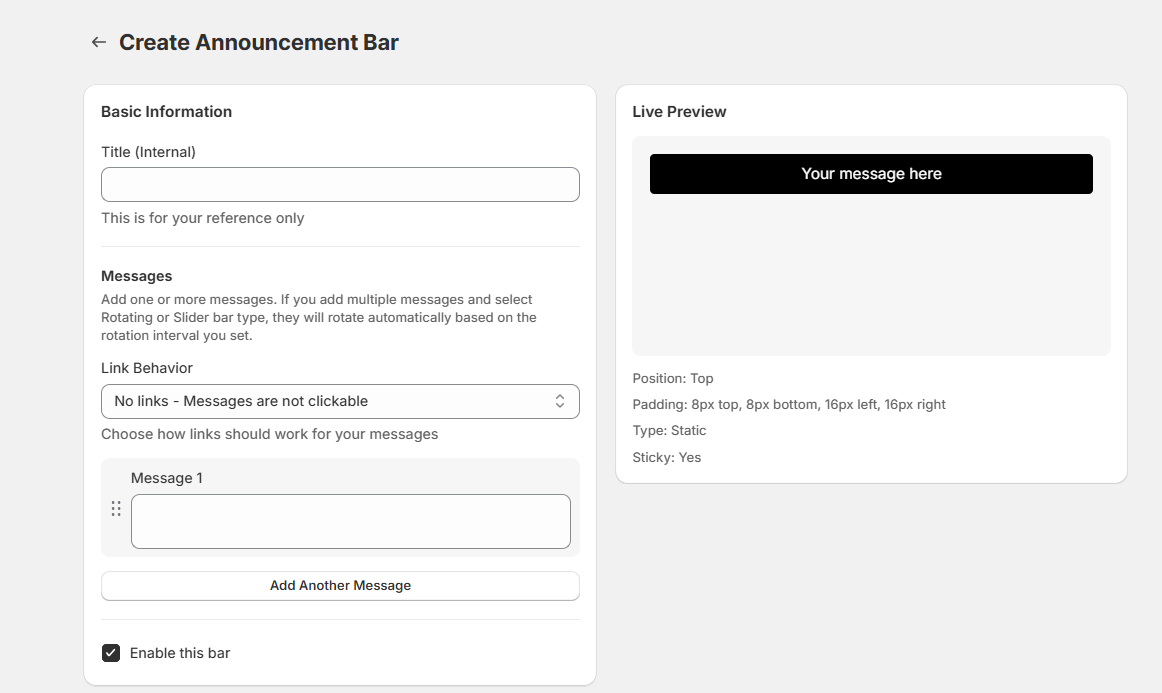
6.1. Fill in the Bar Details
1. Title (Internal Use Only)
- Enter a Title for your announcement bar.
- This is for your reference only and will not appear on your storefront.

2. Messages
- Add one or more messages to display on the bar.
- If you add multiple messages and choose Rotating or Slider bar types, the messages will rotate automatically based on the rotation interval you configure.
3. Link Behaviour
- Click the dropdown next to Link Behaviour and choose how the links should work for your messages:
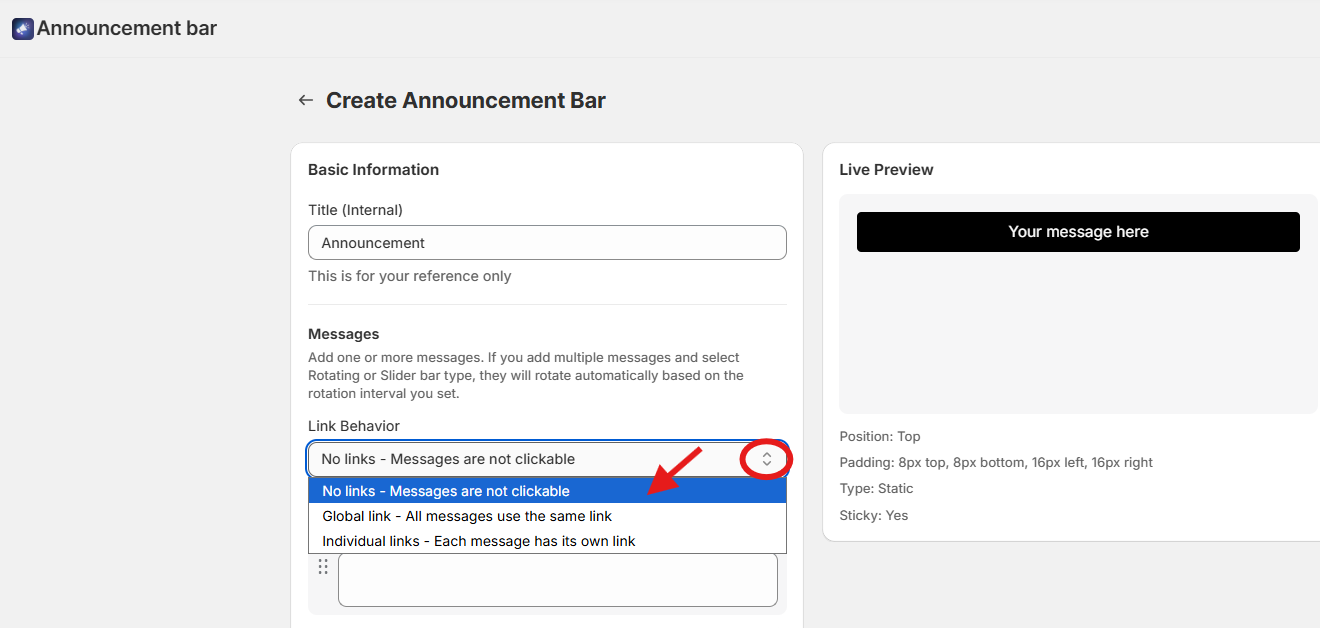
a. No Links — Messages Are Not Clickable: Select this option if you want your bar to display text only.
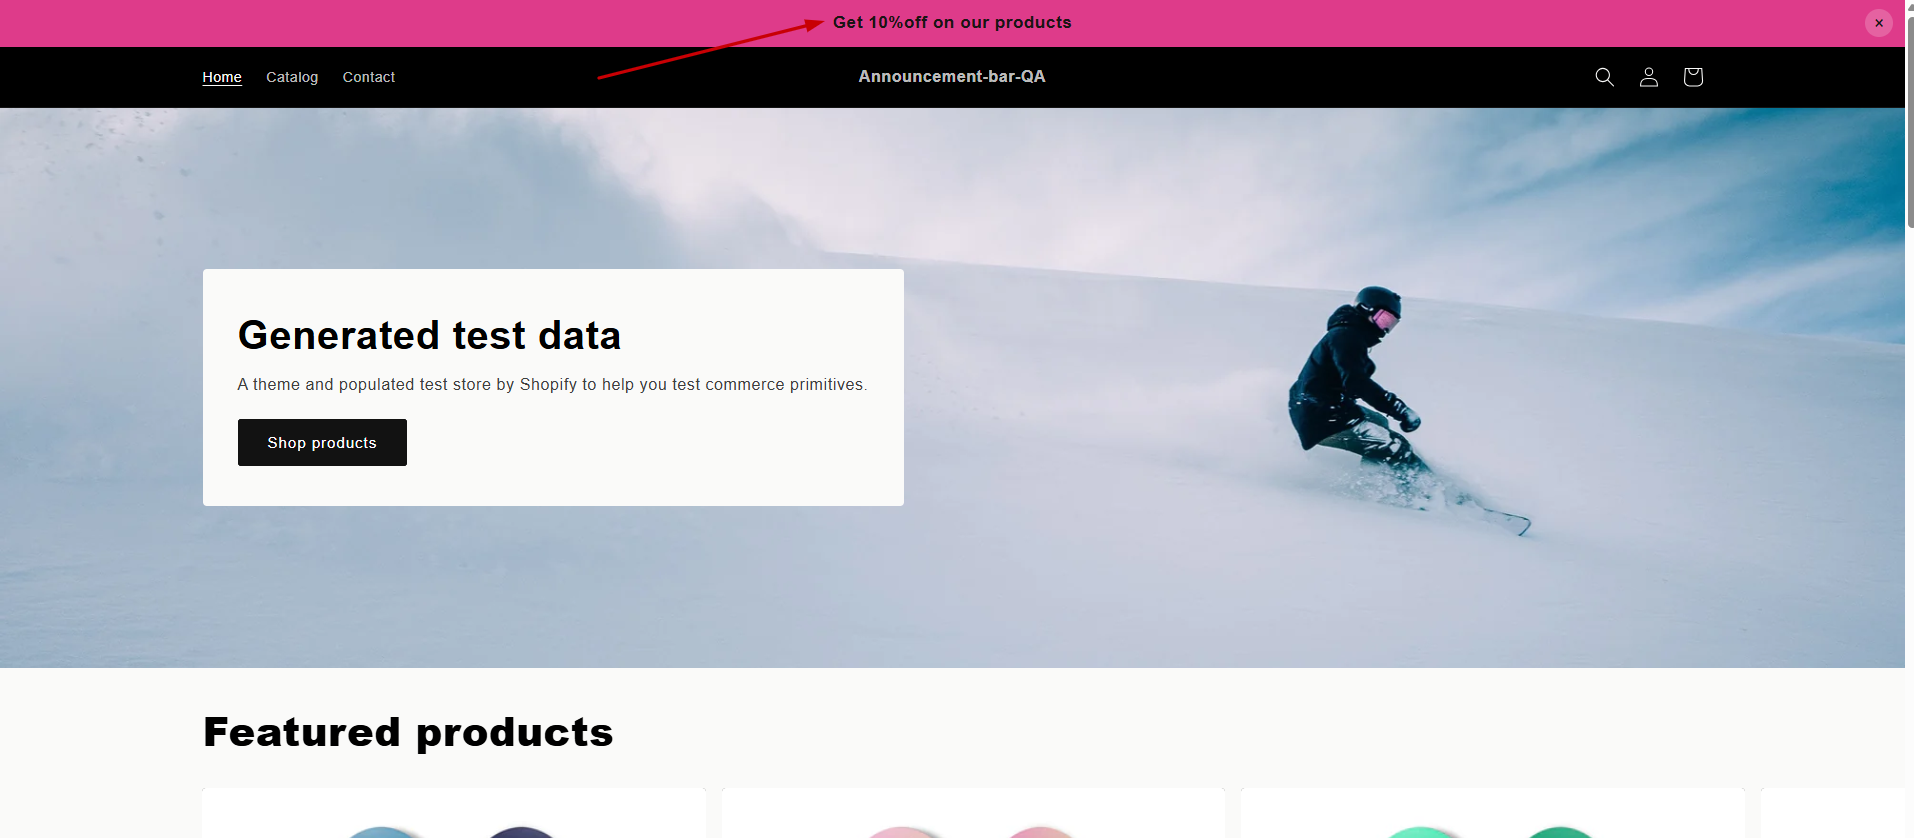
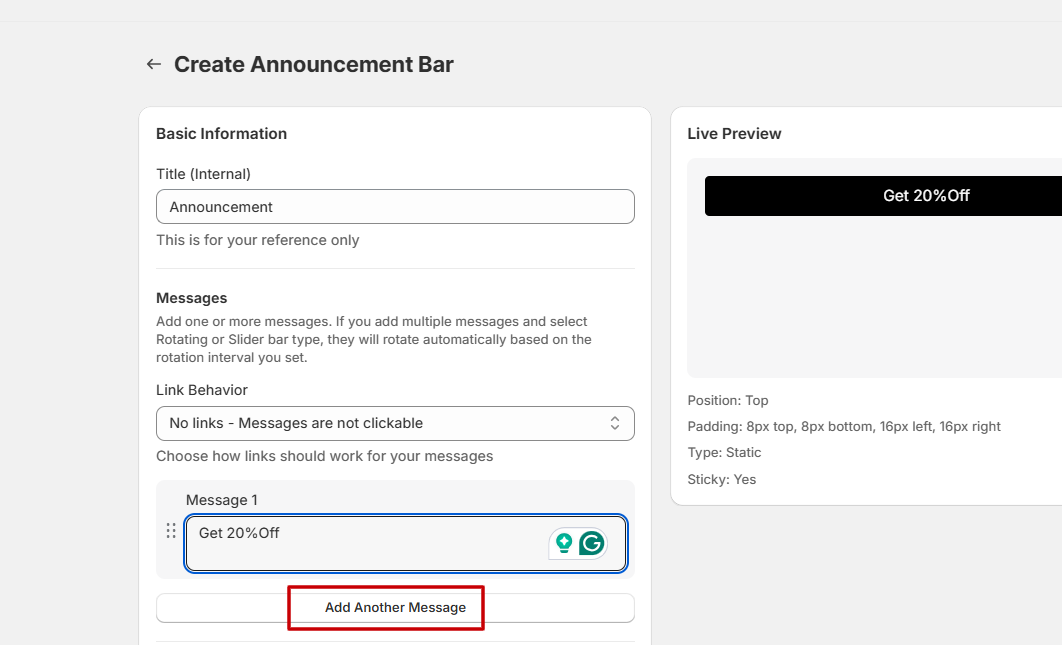
- Message 1: Type the message you want to show on your website.

This is how the message will appear on the website:
- Click Add another message to include additional messages.
None of the messages will have clickable links.
b. Global Link — All Messages Use the Same Link: Select this option if you want all messages to redirect to one common URL.
- Global Link URL: Enter the URL you want all messages to point to.

- Check the Open link in new tab box to ensure the link will open in a new tab.

- Message 1: Type your message in the text field.

- Click Add another message to add more messages.
- All messages will share the same link.

c. Individual Links — Each Message Has Its Own Link: Select this if each message should have its own destination link.
- Message 1: Type the first message.
- Link URL for Message 1: Add the specific URL for this message.

- Click Add another message to add more messages and links.

- Repeat the same for other announcements.
4. Enable the Announcement Bar
- Check the “Enable this bar” box.
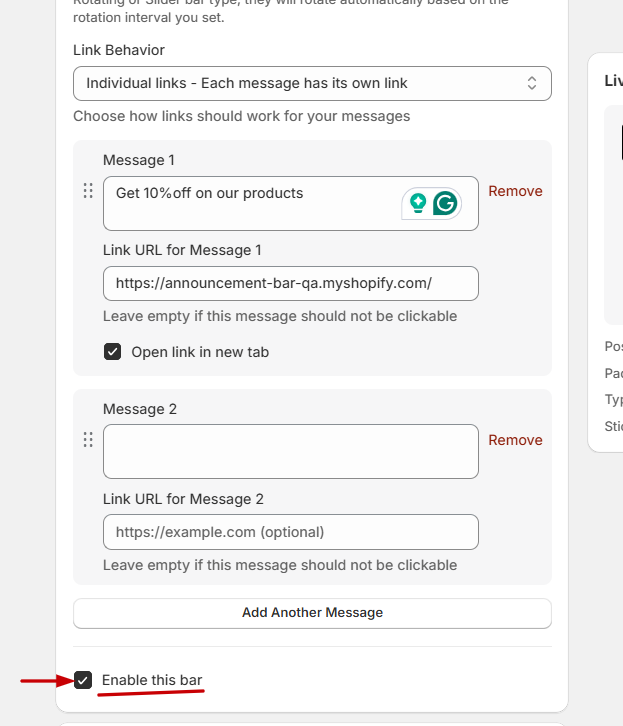
- Click Save to save your progress.
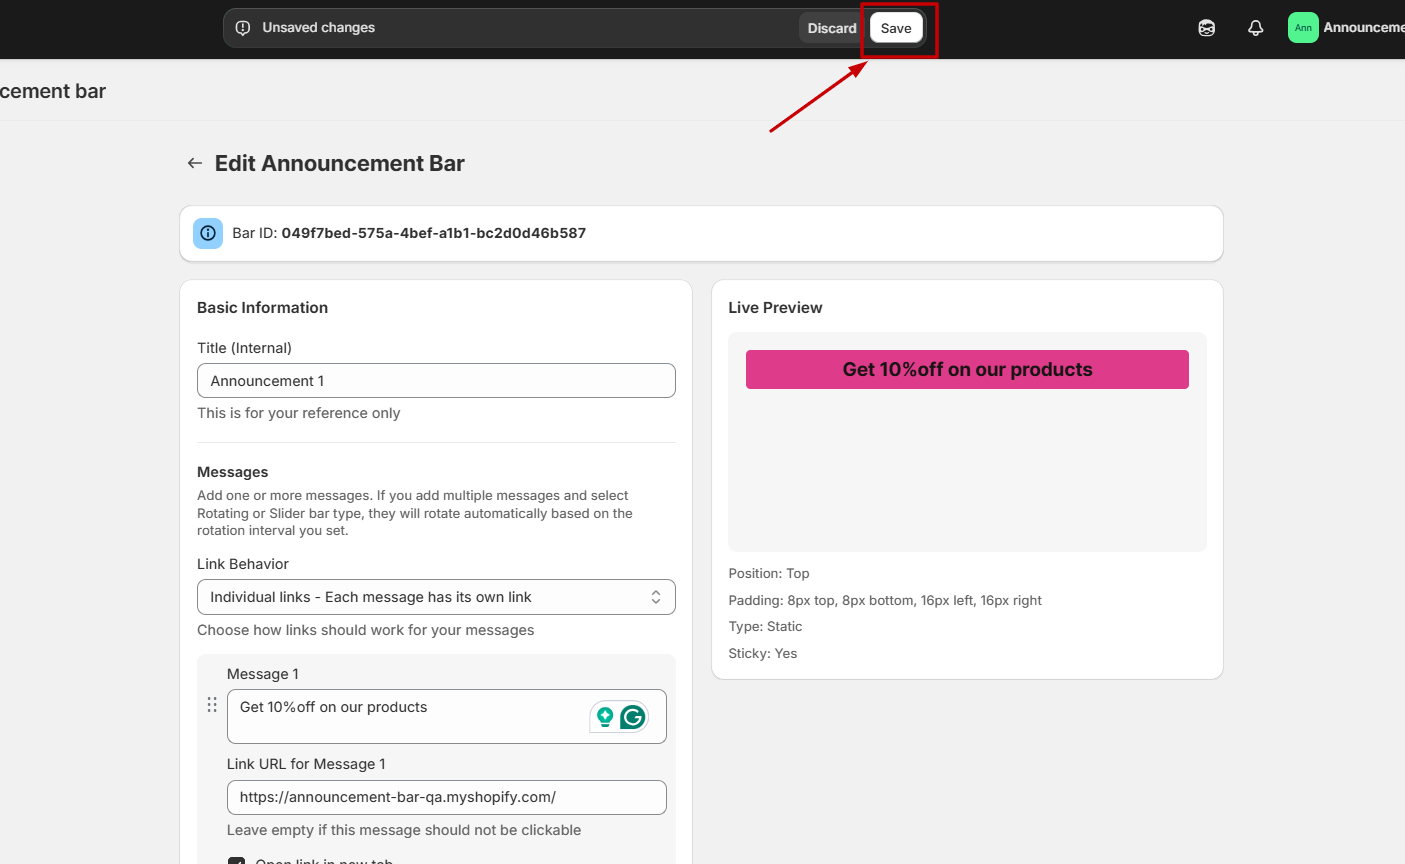
This ensures the announcement bar becomes active and visible on your website once saved.
6.2. Styling
Customize the appearance of your announcement bar to match your store’s branding. The styling options allow you to control colors, font size, and font weight.
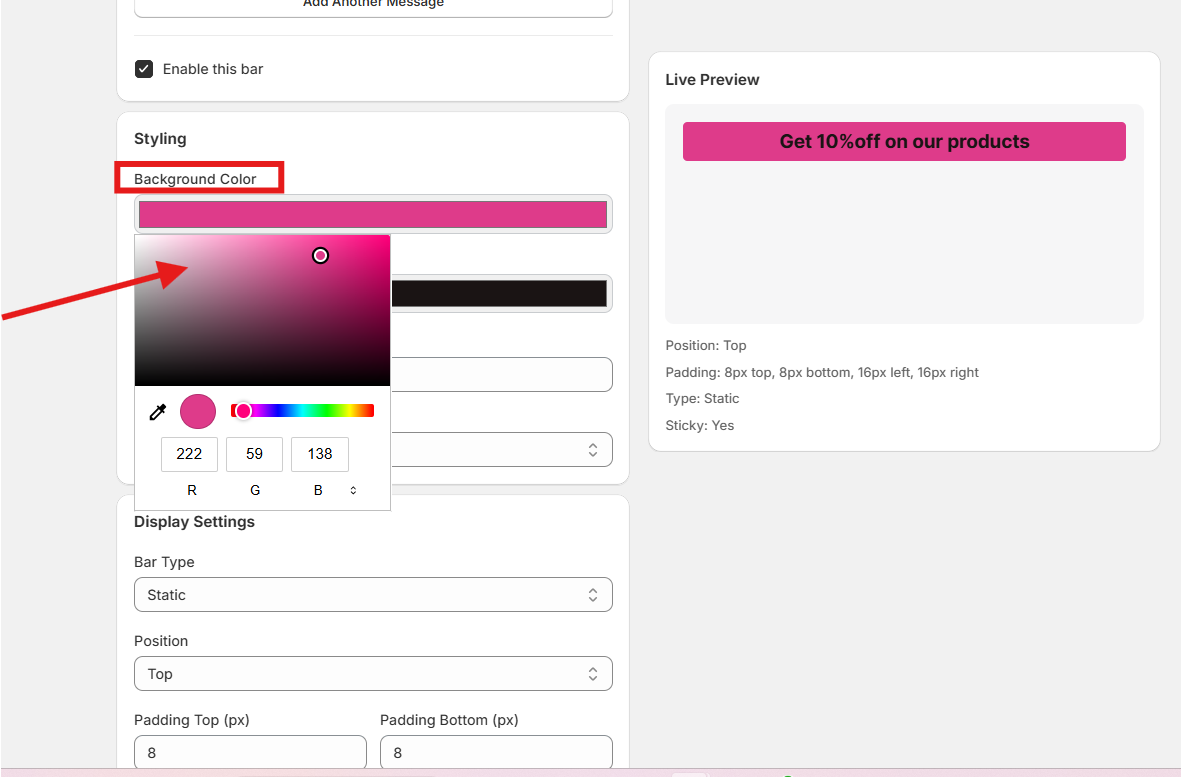
1. Background Color
- Click the Background Color selector to open the color picker.
- Choose the color you want to use as the bar’s background.
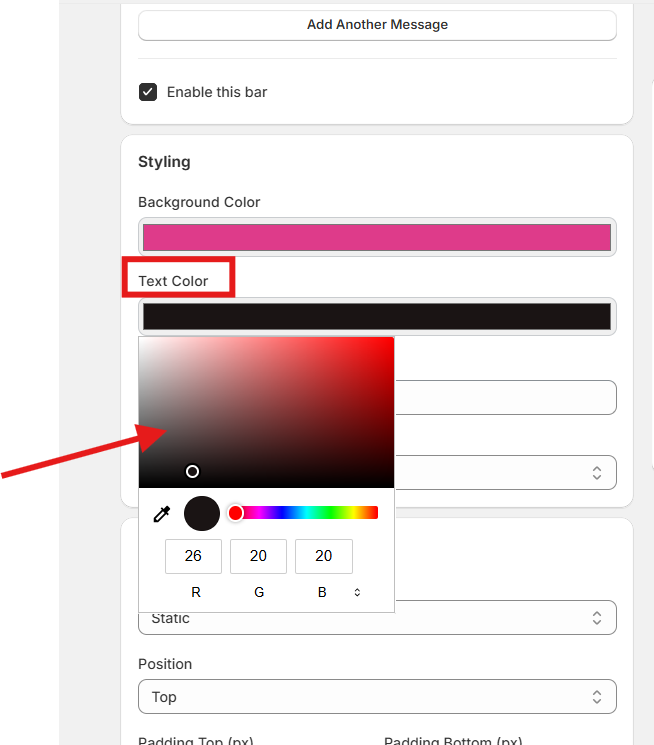
2. Text Color
- Click the Text Color selector and pick the color you want for your message text.
3. Font Size (px)
- Use the number picker to set the font size (in pixels).
- Adjust this value to ensure your announcement text is clear and readable on your storefront.

4. Font Weight
- Click the Font Weight dropdown and choose between:
- Normal
- Bold
- This determines the thickness of your announcement bar text.

- Click Save to save your progress.
You can see these changes in the live preview on the right side of your screen.

6.3. Display Settings
The Display Settings section allows you to control how and where your announcement bar appears on your store. Adjust these settings to match your store’s layout, design, and targeting preferences.
1. Bar Type
- Click the Bar Type dropdown and choose the style of your announcement bar: Static, Scrolling, Rotating, or Slider.

- Static: If you have chosen this option, the announcement message will remain static on the website.
- Scrolling: The message continuously scrolls horizontally across the bar. It can be used for multiple announcement bars.
- In the Scroll Speed (seconds) field, adjust the speed.
- Adjust the gap between the announcement messages in the Message Gap field.
- Choose the scroll direction: Left to Right or Right to Left from the Scroll Direction field.

Example:
- Rotating: Multiple messages rotate one by one based on the interval you set. Set the interval in the Rotation Interval (seconds) field.

Example:
- Slider: Messages slide in and out like a carousel. Choose the rotation interval in the Rotation Interval field. Then choose from the Scroll Direction dropdown whether you want the announcement bar to appear from left to right or right to left.
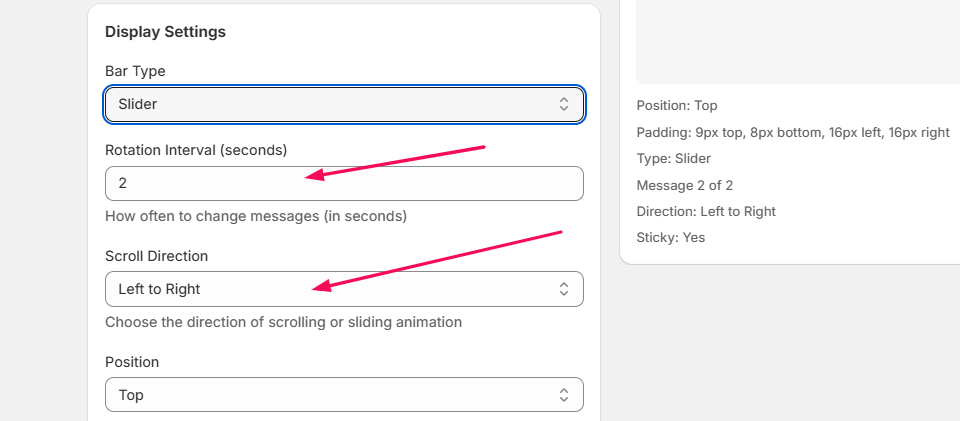
Example:
After you set the bar types and configure the bar-specific settings, the following steps are the same for all the bar types.
2. Position
- Click the Position dropdown and select where the announcement bar should appear:
- Top – Displays at the very top of your website, above the header.
- Bottom – Displays at the bottom of the page, above the footer.

3. Padding Settings
- Use the number pickers to adjust padding around the content:
- Padding Top – Space above the text.
- Padding Bottom – Space below the text.

- Padding Left and Padding Right – Space on the left and right sides.

4. Make Bar Sticky
- Check this box to keep the bar visible as customers scroll down the page.
- When enabled, the bar remains fixed in its chosen position.

5. Theme Selector (Optional)
- This option appears only if you enable “Make Bar Sticky.”
- To prevent layout overlap with your theme’s header, enter a CSS selector such as .header or #navbar.
- This ensures proper spacing when the bar is sticky.

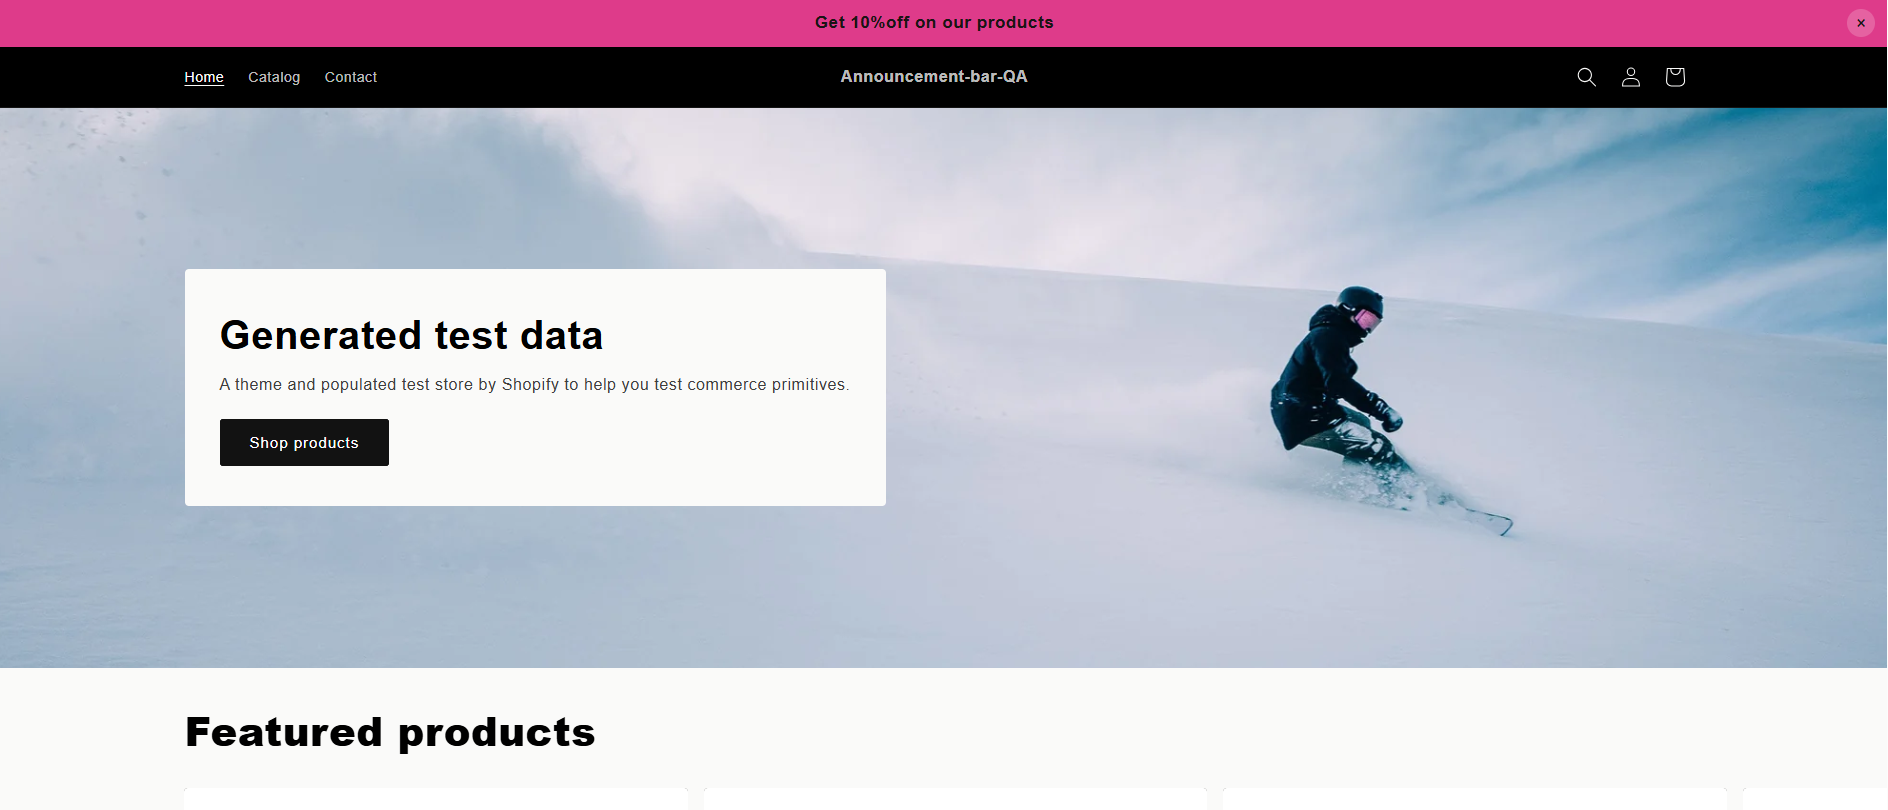
6. Show Close Button
- Enable this option to allow visitors to manually close (dismiss) the announcement bar.
- If enabled, you can see a cross button in the announcement bar as shown in the live preview below.

7. Configure Separate Settings for Mobile
- Check this option if you want different styling or display behavior for mobile devices.
- This allows you to fine-tune the appearance specifically for smaller screens.
- If you enable this option, you can change the padding and font size in the announcement bar.

8. Device Targeting
- Choose which devices should show the announcement bar:
- All devices: Display on both desktop and mobile.
- Mobile only: Display only on mobile devices.
- Desktop only: Display only on desktop screens.

9. Priority
Use the number selector to set bar priority.
Bars with higher numbers appear first when multiple bars are eligible to display.

10. Add Countdown Timer
- Check this box to display a countdown timer inside the announcement bar.
- If enabled:
- Countdown To Date: Select the date and time you want the countdown to end.

- Timer Position – Choose where the countdown appears relative to the message:
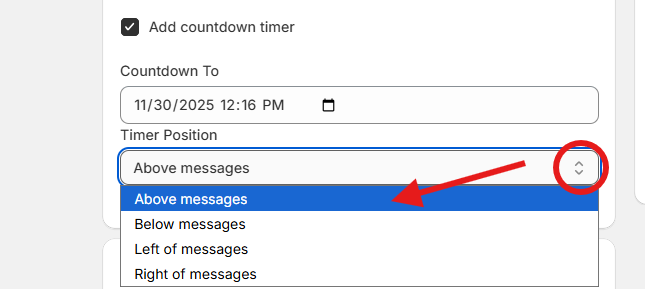
- Below messages: The timer will appear below the announcement bar.

- Above messages: The timer will appear above the announcement bar.

- Left of messages: The timer will appear on the left of the announcement bar.

- Right of messages: The timer will appear on the right of the announcement bar.

6.4. Page Targeting
- Control which pages this announcement bar will appear on.
- Show on Entire Website: Displays the bar across all pages on the store.
- Show on Specific Pages Only: Restricts the bar to selected pages or products.

- If you choose Specific Pages Only, you can select:
- Homepage: The announcement bar will appear on the homepage only.
- Product pages: The announcement bar will appear on the product page only.
- Collection pages: The announcement bar will appear on the categories/collections page.
- Cart page: The announcement bar will appear on the cart page.

- Search Products: If you want to show the announcement bar on specific products only, click Browse in the Search Products field and select products.

6.5. Visitor Targeting
- Choose which visitors should see this announcement bar:
- All visitors: The bar is visible to everyone.
- Logged-in customers only: Only customers who are signed in will see the bar.
- Guest visitors: Only customers who are not logged in will see the bar.

6.6. Scheduling
- Control when the announcement bar is active.
- If disabled, the bar will display immediately and indefinitely.
- Enable scheduling to set specific start and end times.
- If scheduling is enabled:
- Start Date & Time
- Select when the bar should begin appearing.
- Leave blank to start immediately.
- End Date & Time
- Select when the bar should stop appearing.
- Leave blank to keep it active indefinitely.
- Start Date & Time

6.7. Custom CSS
- This is where you can add your own styling to change how your announcement bar looks.
- You’ll see something like this:
.matat-announcement-bar {
/* Your custom styles here */
}
- This code is just a container. Anything you put inside the curly braces { } will change the appearance of your announcement bar.
For example: colors, font size, spacing, background, etc.
- Type in the style changes you want in the code container, such as color, size, or background, to make the announcement bar look the way you want.

- Finally, click Save to save all the settings you have made. You can click Delete to delete the announcement bars.

Step 7: Manage Bars
- Click Bars on the left side of the screen.

- You will see the list of announcement bars you have created.
- On each bar, you get the option to edit, duplicate, and delete the bar.
- Click Edit to make changes to the bar settings, Duplicate to create a copy of the announcement bar, and Delete to remove it.

Step 8: Upgrade Matat Announcement Bar Plan
- Go to Billing & Plans on the left side of the screen.

- If you have not subscribed to the premium plan, follow these steps to get the premium plan:
- Select the Premium option on the screen.

- Complete the payment process, and you can now access all the premium features of the Matat Announcement Bar App.

